Quick Answer
Lawn striping creates those beautiful light and dark patterns by bending grass blades in opposite directions using a striping kit or roller attachment on your mower[1]. The key is maintaining consistent, straight passes while alternating mowing directions each time you cut the grass[2].
Key Takeaways
- Use a striping kit or weighted roller attachment for best results
- Mow at the highest recommended height for your grass type
- Create patterns by alternating mowing directions each session
- Cool-season grasses show stripes better than warm-season varieties
- Best results come from healthy, thick turf maintained at proper height
Introduction
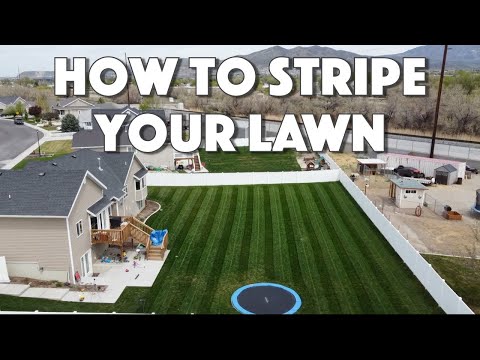
Those pristine striped patterns you see on golf courses and professional sports fields aren't just for show – they're achievable in your own backyard with the right technique and equipment. Striping is just one part of learning how to make your lawn look like a golf course. Lawn striping works by bending grass blades to reflect light differently, creating the visual contrast between light and dark stripes[1]. With consistent mowing practices and proper equipment, you can transform your ordinary lawn into a professional-looking masterpiece.
What Equipment Do You Need for Lawn Striping?
The most effective tool for creating lawn stripes is a striping kit – a weighted roller or flexible flap system that attaches to the back of your mower[3]. These kits bend grass blades as you mow, creating more pronounced striping than mowing alone.
Striping Equipment Comparison
| Equipment | Cost | Stripe Quality | Best For |
|---|---|---|---|
| Striping kit roller | $30–80 | Excellent | Most homeowners |
| Lawn roller (tow-behind) | $80–200 | Very good | Large yards |
| DIY PVC roller (filled with gravel) | $15–30 | Good | Budget option |
| Mower alone (no attachment) | $0 | Moderate | Beginners |
Alternatively, you can achieve basic striping with a standard mower by using proper technique, though the results won't be as dramatic. Some homeowners use a lawn roller after mowing to enhance the striping effect, but this requires extra time and effort[2].
For best results, ensure your mower blades are sharp and properly adjusted. Dull blades tear grass rather than cutting cleanly, which reduces the striping effect and can damage your lawn[4]. Learn more about mowing best practices to keep your equipment in top shape.
How Do You Create Professional Lawn Stripes?
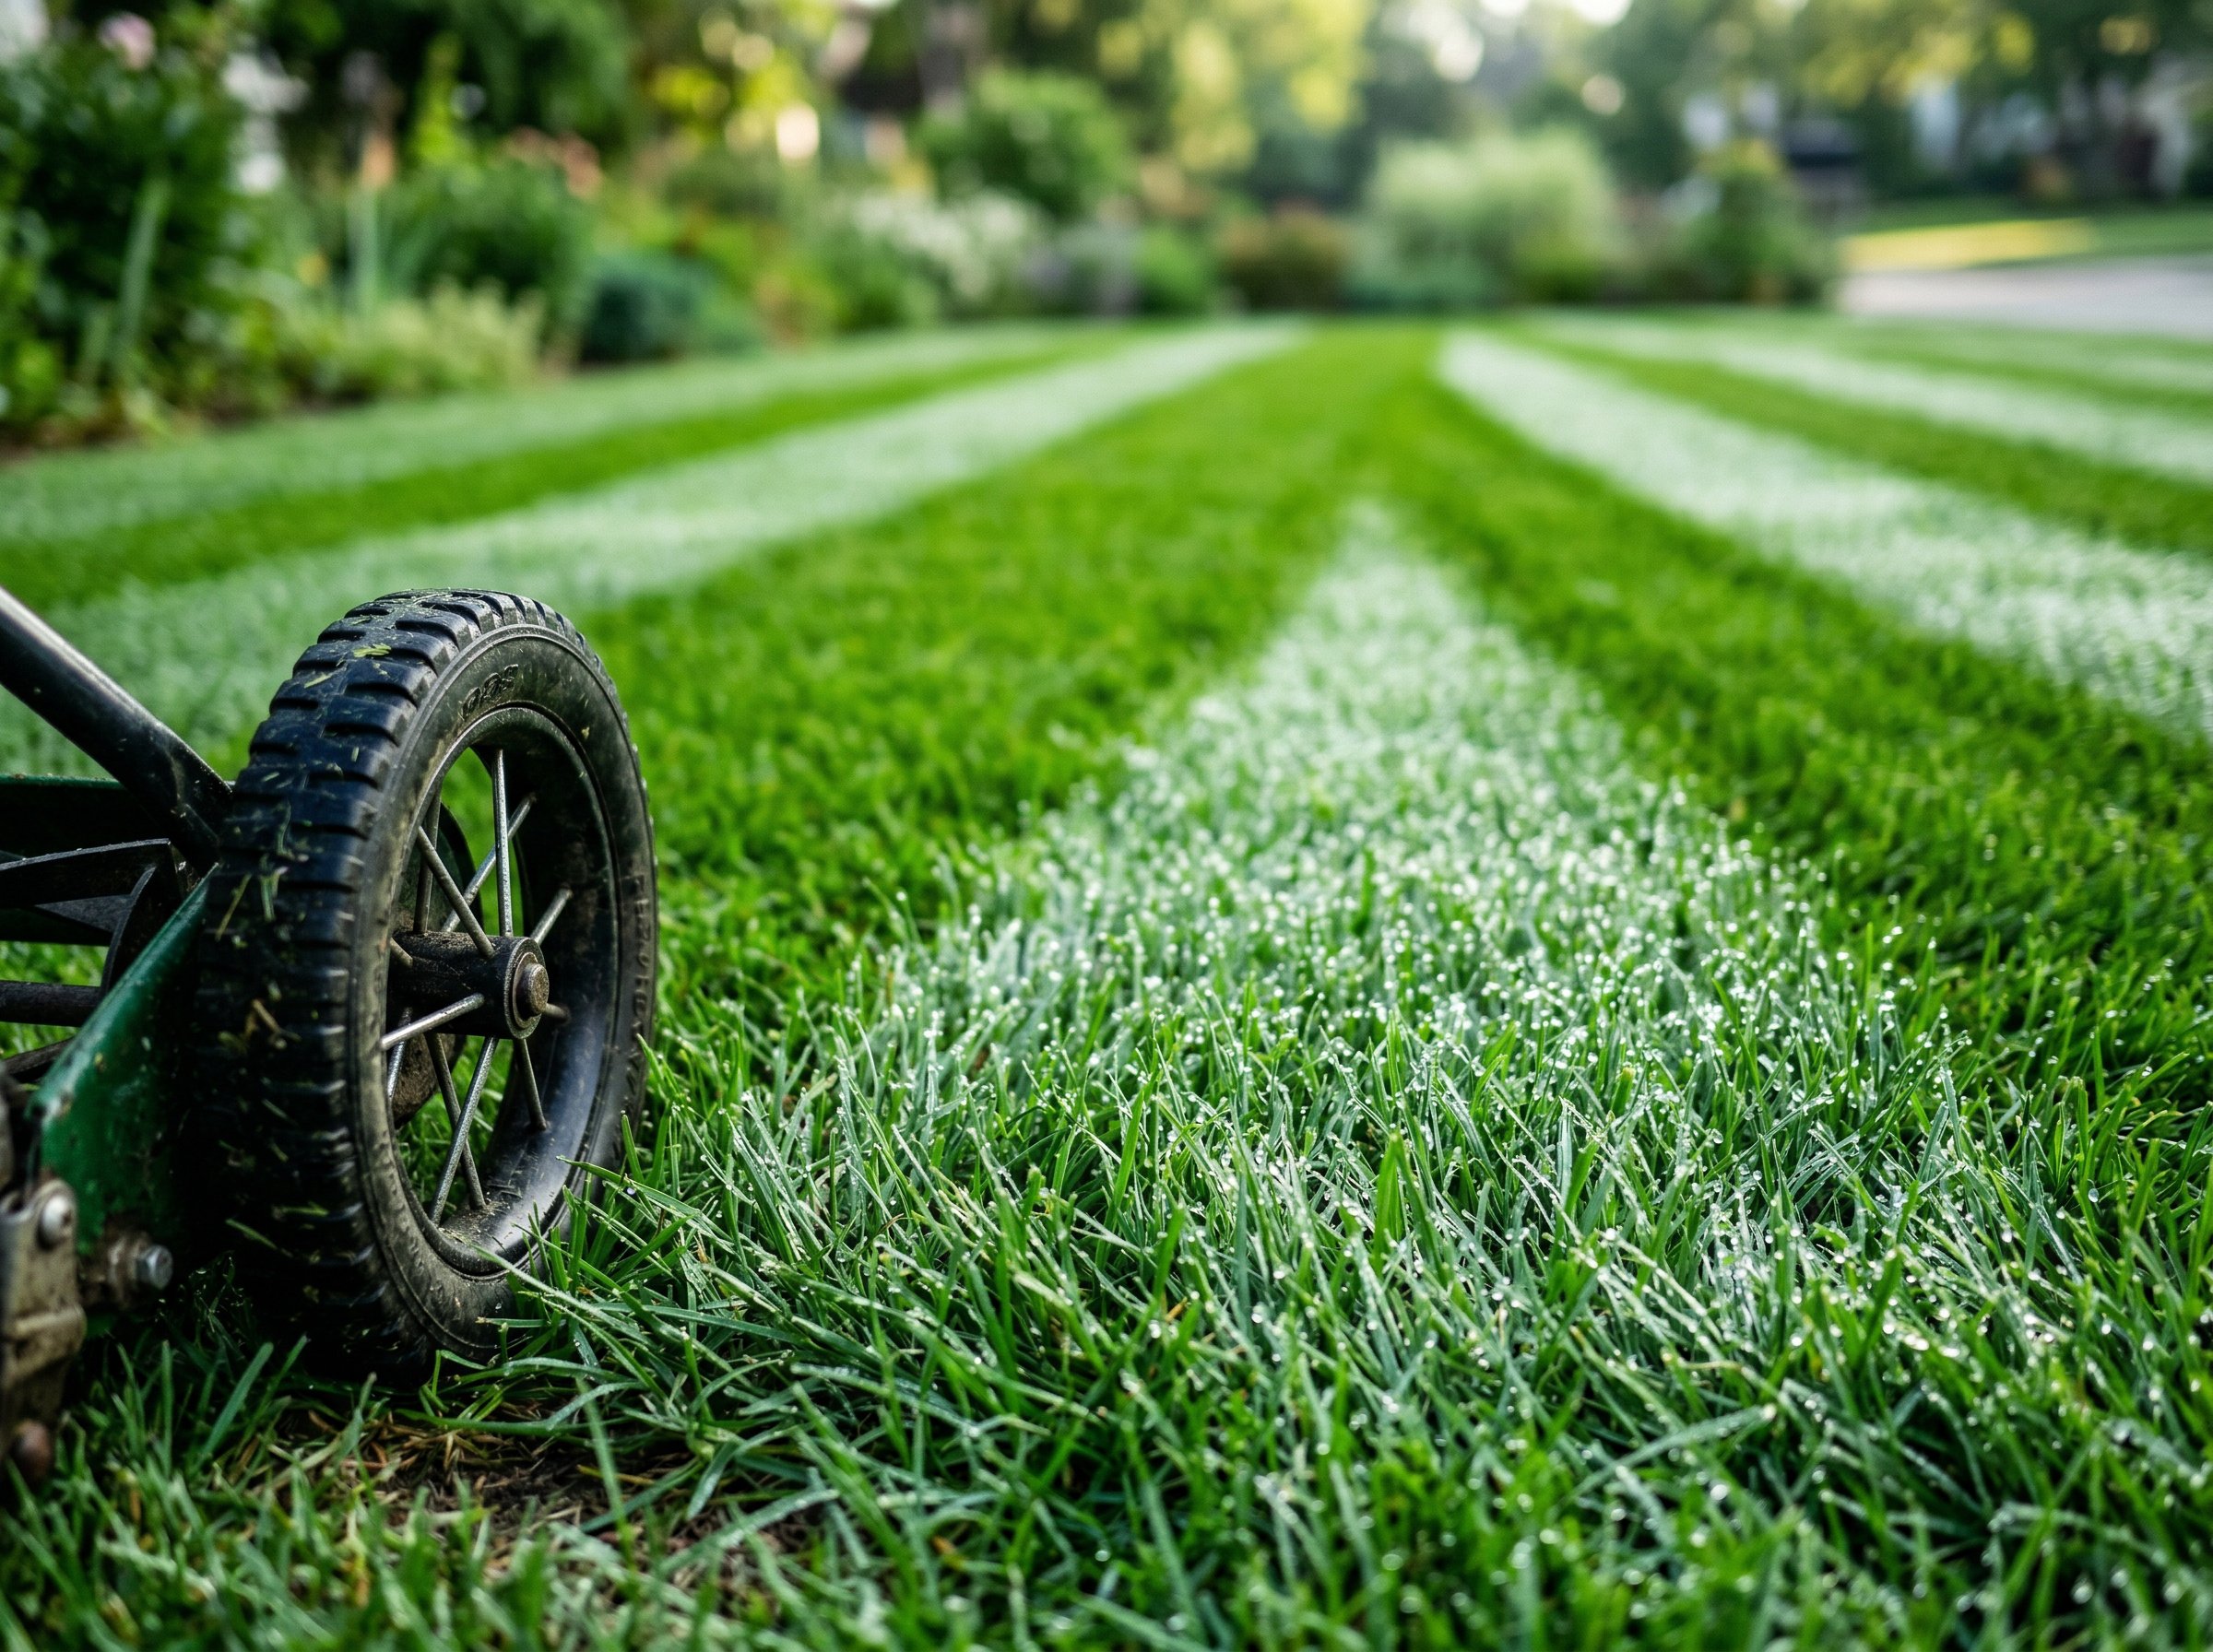
Start by mowing your entire lawn in one direction, maintaining perfectly straight lines. Use a fixed point in the distance – like a tree or fence post – to keep your passes straight[1]. Overlap each pass by 2-3 inches to avoid leaving uncut strips.
Step-by-Step Striping Process
- Mow the perimeter — Make 2-3 passes around the outside edge first to create a turning lane
- Pick a reference point — Choose a tree, fence post, or patio edge to align your first stripe
- Mow your first pass — Drive straight toward your reference point at a steady, even speed
- Turn and come back — Make a wide U-turn and mow the adjacent pass in the opposite direction
- Overlap slightly — Each pass should overlap the previous one by about 2 inches for clean edges
- Repeat across the lawn — Continue alternating direction until the entire area is covered
For your next mowing session, cut perpendicular to your previous direction. If you mowed north-south last time, mow east-west this time. This alternating pattern prevents grass from developing a "grain" or leaning permanently in one direction[2].
Double-Wide Stripes for Larger Lawns
For lawns over 5,000 square feet, double-wide stripes look proportionately better than single stripes. The technique uses a 5-pass process: mow the first dark stripe, skip over and mow the first light stripe, return to complete the dark stripe, finish the light stripe, then repeat. Index your starting position off a fixed reference point like a patio to ensure consistent stripe placement across the entire lawn.
Mow at the highest recommended height for your grass type – taller grass creates more dramatic striping effects. Cool-season grasses like fescue, bluegrass, and ryegrass show stripes better than warm-season varieties[3].
Avoid making sharp turns at the end of each pass. Instead, make wide, gentle turns to prevent tire damage to your turf and maintain clean stripe edges.
What Are the Best Stripe Patterns to Try?
Once you've mastered basic straight stripes, experiment with more advanced patterns to create visual variety.
Pattern Difficulty Guide
| Pattern | Difficulty | Visual Impact | Notes |
|---|---|---|---|
| Straight stripes | Beginner | High | Foundation pattern — master this first |
| Checkerboard | Intermediate | Very high | Mow straight stripes, then mow perpendicular over the top |
| Diamond | Intermediate | Very high | Mow diagonal stripes both directions |
| Spiral | Advanced | Moderate | Start from outside edge and spiral inward |
| Wave | Advanced | High | Use gentle S-curves instead of straight lines |
The sun's position matters more than most guides mention. Mowing away from the sun lays grass blades down to create light-colored stripes, while mowing toward the sun creates dark stripes. For the most dramatic contrast, plan your striping direction relative to where you'll be viewing the lawn from — typically from a patio or kitchen window.
When Is the Best Time to Start Lawn Striping?
Begin striping when your grass is actively growing and thick enough to support the technique. Choosing the best time to mow your lawn ensures optimal conditions for visible stripes. For cool-season grasses, start in late spring when growth accelerates[4]. Warm-season grasses respond best to striping during their peak growing season in summer.
Seasonal Striping Timeline
| Season | Cool-Season Grasses | Warm-Season Grasses |
|---|---|---|
| Early Spring | Too early — grass still dormant | Too early — still dormant |
| Late Spring | Prime time — growth accelerating | Beginning to wake up |
| Summer | Good, but water adequately | Peak striping season |
| Early Fall | Excellent — peak growing season | Stripes fading as growth slows |
| Late Fall | Last chance before dormancy | Dormant — not recommended |
Avoid striping when grass is stressed from drought, disease, or extreme temperatures. Stressed grass won't bend properly and may be damaged by the additional weight of striping equipment[5].
Mow when grass is dry but not drought-stressed. Wet grass can clump and clog your mower, while extremely dry grass may break rather than bend, reducing the striping effect. Following a consistent lawn watering schedule helps keep turf in ideal condition for striping.
Why Won't My Lawn Show Good Stripes?
Poor striping results usually stem from thin or unhealthy turf. Grass needs to be thick and upright to create dramatic light and dark contrasts[1]. Focus on improving your lawn's overall health through proper fertilization, watering, and regular maintenance. A dark green lawn creates much more dramatic striping contrast than pale or yellowing turf.
Grass Types Ranked by Striping Quality
| Grass Type | Stripe Visibility | Climate | Notes |
|---|---|---|---|
| Perennial ryegrass | Excellent | Cool-season | Fine blades bend easily, hold stripes well |
| Kentucky bluegrass | Excellent | Cool-season | Dense turf creates dramatic contrast |
| Tall fescue | Very good | Cool-season / transition | Wide blades reflect light effectively |
| Zoysia | Good | Warm-season | Denser than bermuda, shows moderate stripes |
| Fine fescue | Fair | Cool-season | Too fine for dramatic stripes |
| Bermuda grass | Fair | Warm-season | Rigid blades spring back quickly |
| St. Augustine | Poor | Warm-season | Coarse texture limits striping contrast |
Mowing height significantly affects striping quality. Cutting grass too short reduces the surface area available for light reflection and makes stripes less visible[2]. Raise your cutting height to the upper end of the recommended range for your grass type.
Some grass varieties simply don't stripe well. Fine fescue and Bermuda grass show subtle striping, while perennial ryegrass and tall fescue create more dramatic patterns[3]. Consider overseeding with stripe-friendly varieties if you want more pronounced results.
How Do You Maintain Stripes Between Mowings?
Stripes naturally fade as grass returns to its upright position, but several practices help them last longer between sessions.
Keep grass healthy and thick. The denser your turf, the more blades are available to reflect light and hold the bent position. Regular fertilization during the growing season — especially with a spring fertilizer or fall fertilizer — promotes the thick growth that holds stripes best.
Mow frequently. During peak growing season, mow every 4-5 days rather than waiting a full week. More frequent mowing reinforces stripe patterns and prevents overgrowth that obscures the effect. Learn how often you should mow for your specific grass type.
Water deeply but infrequently. Deep watering encourages strong root systems that support upright, healthy blades. Shallow, frequent watering creates weak turf that can't hold the bent position created by your striping kit.
Avoid heavy foot traffic on striped areas. Walking on freshly striped grass disrupts the blade direction. Use paths or walkways to cross the lawn rather than cutting across the striped pattern.
Common Striping Mistakes to Avoid
Mowing too fast. Speed creates uneven blade bending and wavy lines. Maintain a slow, steady pace — especially on your first few passes until you get comfortable with the technique.
Not cleaning your mower deck. Grass buildup underneath the deck reduces airflow and cutting performance. Scrape the deck clean before each striping session for the crispest results.
Ignoring the one-third rule. Never cut more than one-third of the grass blade length in a single mowing. Scalping the lawn for "shorter is better" strips away the very surface area that creates visible stripes. If your lawn has gotten too tall, make two passes over several days to bring it down to the target height.
Striping a lawn that needs other care first. Bare patches, dead spots, and heavy weed infestations make stripes look worse, not better. Address common lawn problems before investing time in striping patterns.
Conclusion
Creating golf course-quality lawn stripes requires consistent technique, proper equipment, and healthy turf. Start by investing in a quality striping kit and maintaining your lawn at the proper height for optimal health. Practice creating straight, parallel lines while alternating directions between mowing sessions. Remember that striping is most effective on thick, well-maintained cool-season grasses during their active growing periods. With patience and consistency, you'll develop the skills to create impressive lawn patterns that rival professional landscapes. Ready for the full golf course transformation? See our complete guide on how to make your lawn look like a golf course.
Sources
- Penn State Extension - Turfgrass maintenance and mowing best practices
2. University of Minnesota Extension - Lawn care and grass management guidelines
3. Scotts Company - Professional lawn striping research and equipment guides
4. Michigan State University Extension - Turfgrass species characteristics and care
5. Sports Turf Managers Association - Professional field maintenance and striping techniques