Quick Answer
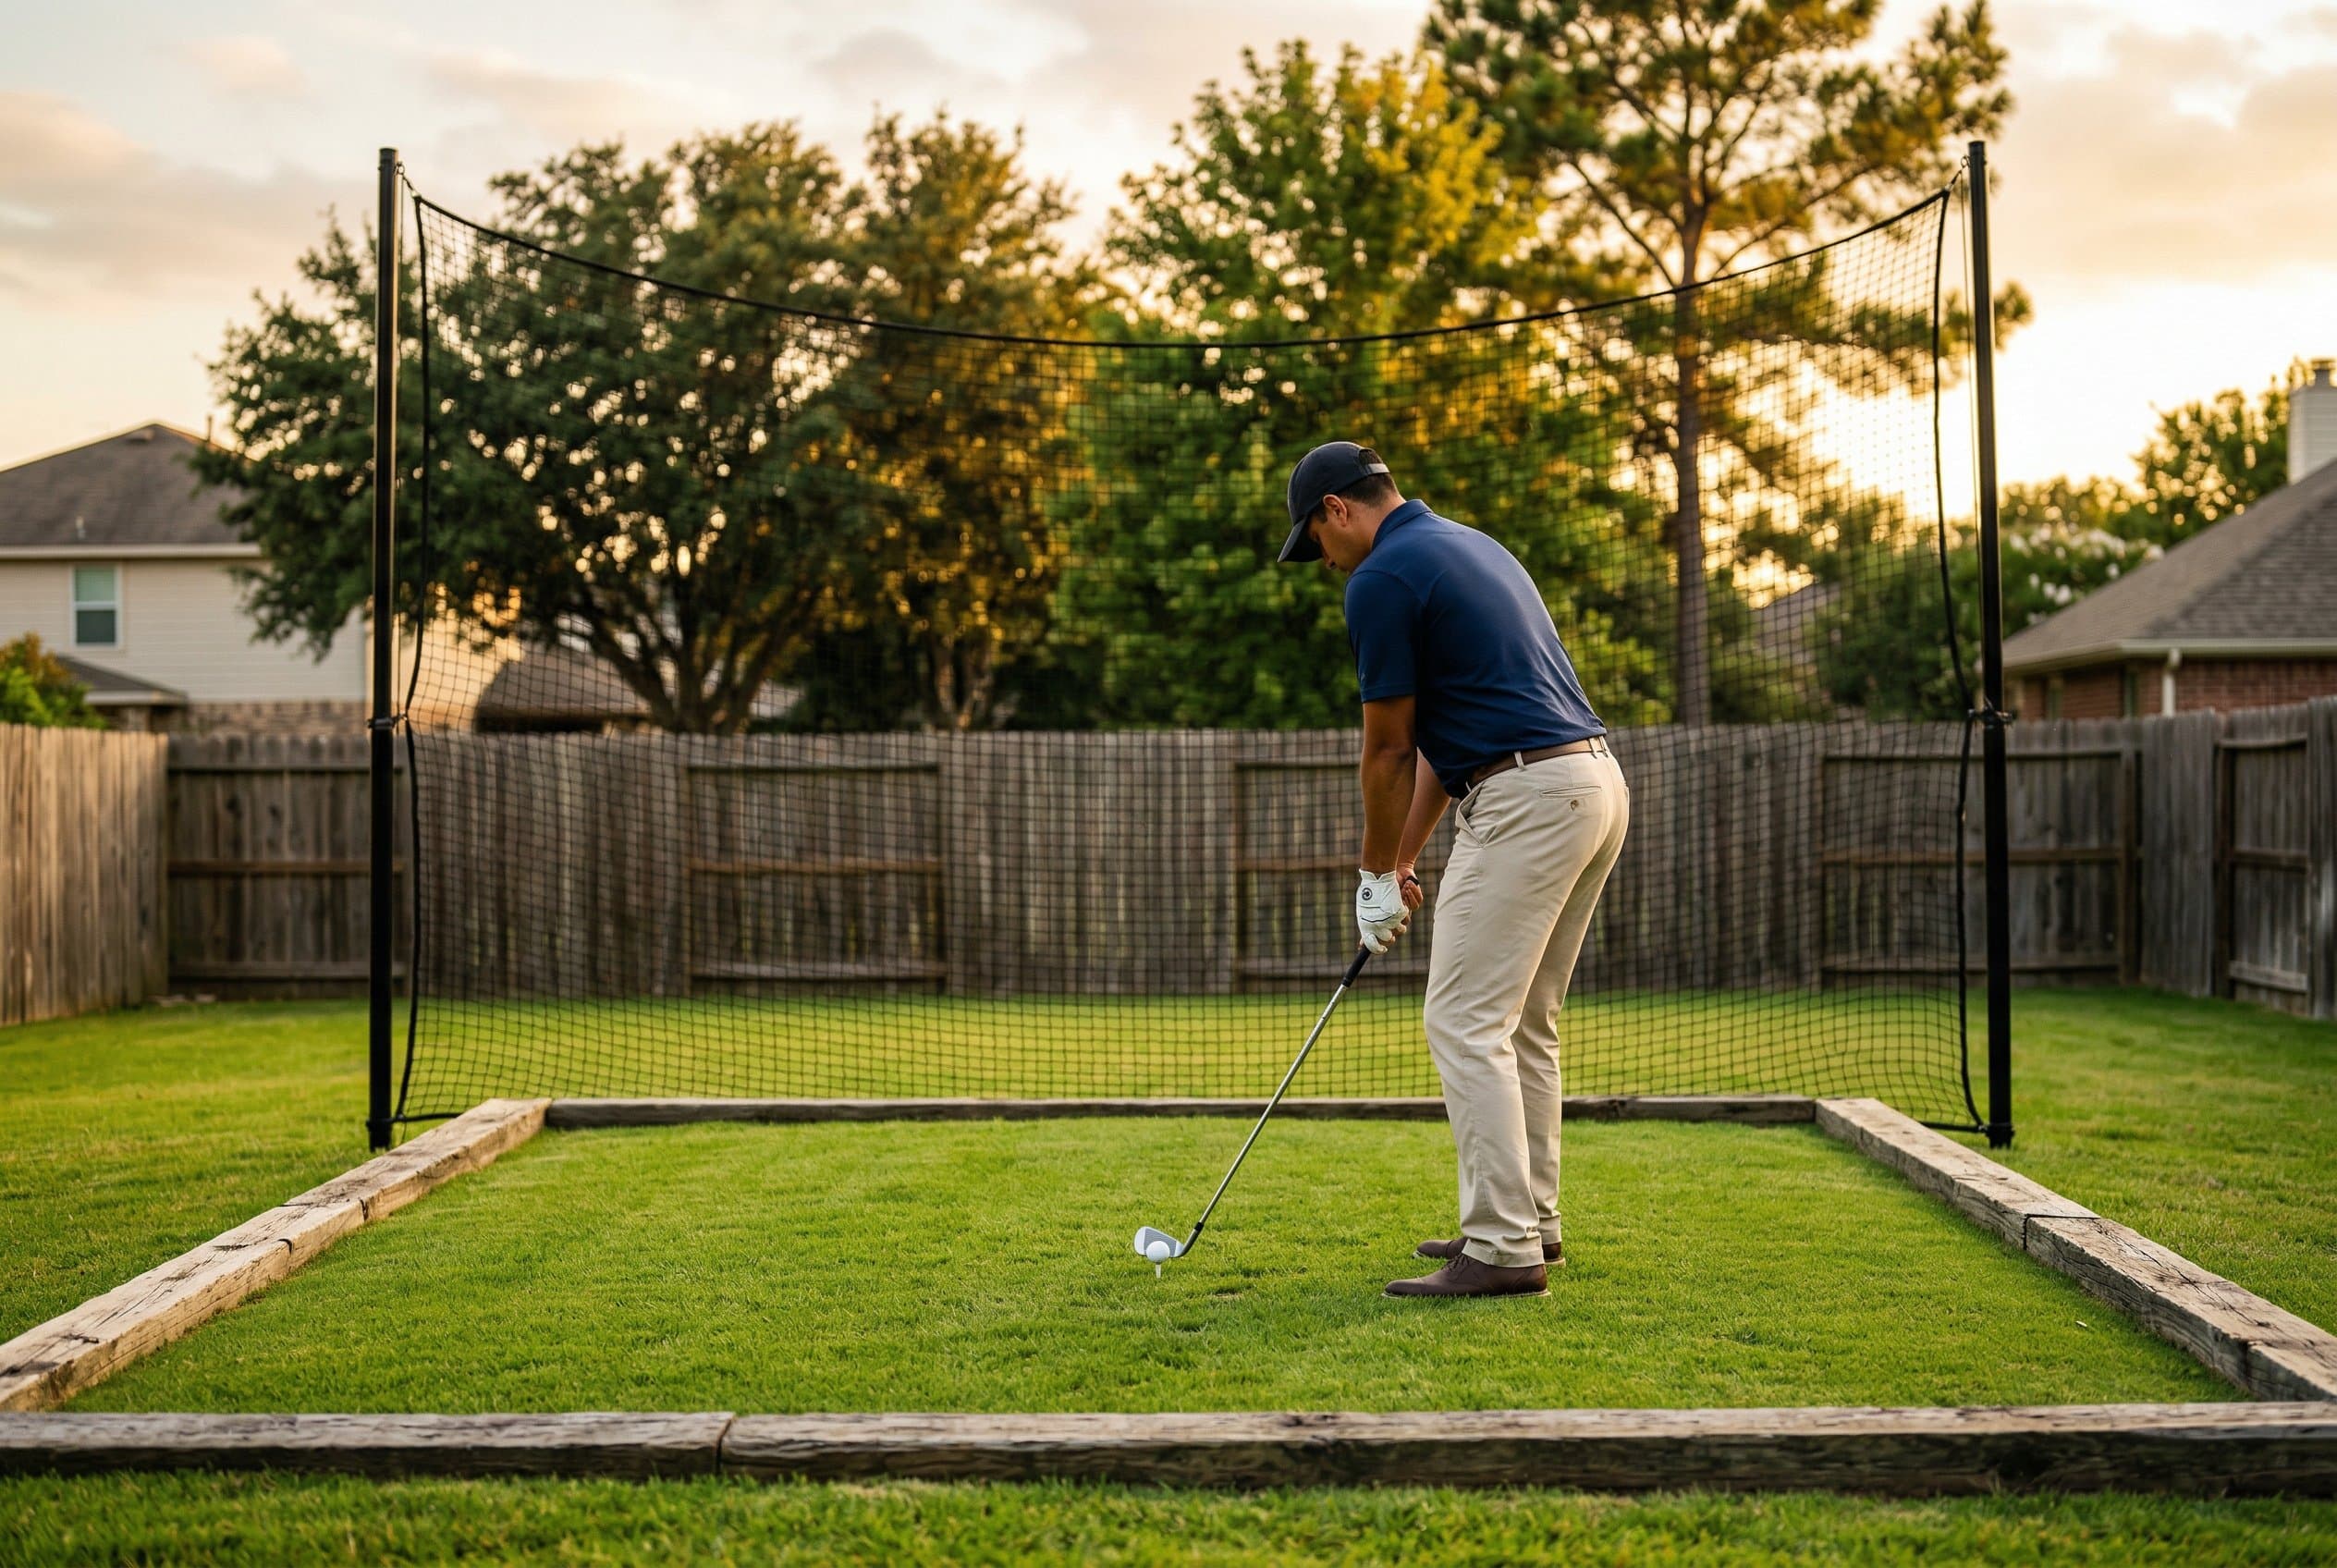
Building a DIY backyard tee box requires a level 6x4 foot area, quality turf or artificial grass, and a raised platform 2-4 inches high for proper ball positioning. With basic materials like pressure-treated lumber, sand, and drainage components, you can create a professional-quality practice tee for under $200.
Key Takeaways
- Choose a level location with at least 20 feet of clear space in your target direction
- Build a raised platform 2-4 inches high using pressure-treated lumber and proper drainage
- Install quality turf or artificial grass designed for golf applications
- Add tee holders or use removable rubber tees for versatility
- Regular maintenance includes leveling, cleaning, and turf care
Creating your own backyard tee box transforms any yard into a personal golf practice facility. Pair it with a DIY chipping green for a complete short game practice area, and brush up on when to chip vs. pitch around the green to get the most out of it. Whether you're working on your swing mechanics or just want convenient practice access, a well-built tee box provides the foundation for effective home training sessions.
What Materials Do You Need for a Backyard Tee Box?
Successful tee box construction starts with the right materials[1]. Your shopping list should include pressure-treated lumber (2x6 or 2x8 boards), galvanized screws or bolts, landscape fabric, coarse sand for drainage, and either quality sod or artificial turf designed for golf applications.
Complete Materials List and Cost Estimate
| Material | Quantity (6x4 ft box) | Est. Cost | Purpose |
|---|---|---|---|
| Pressure-treated lumber (2x6) | 20 linear feet | $25–40 | Frame construction |
| Galvanized screws & corner brackets | 1 pack each | $15–20 | Structural integrity |
| Landscape fabric | 1 roll (3x50 ft) | $15–25 | Weed barrier |
| Coarse sand or pea gravel | 4–6 bags (50 lb each) | $20–30 | Drainage layer |
| Topsoil/leveling mix | 6–8 bags | $25–40 | Growing medium |
| Artificial golf turf or sod | 24 sq ft | $30–80 | Hitting surface |
| Rubber tee holders | 2–3 | $10–15 | Ball positioning |
| **Total** | **$140–250** |
For the frame, pressure-treated lumber resists moisture and provides long-term durability[2]. A standard tee box measures 6 feet long by 4 feet wide, requiring approximately 20 linear feet of lumber. Add corner brackets and galvanized hardware to ensure structural integrity.
Drainage materials prevent water accumulation that damages turf and creates uneven surfaces. Use landscape fabric as a barrier, then add 2-3 inches of coarse sand or gravel beneath your growing medium. This foundation layer is crucial for year-round performance[3].
How Do You Build the Tee Box Platform?
Start by selecting a level area with adequate clearance — you'll need at least 20 feet of open space in your target direction for safety[1]. Mark your 6x4 foot area and excavate 6-8 inches deep to accommodate the frame and base materials.
Step-by-Step Construction Process
- Mark the area — Use stakes and string to outline your 6x4 foot rectangle. Check squareness by measuring diagonals — they should be equal.
- Excavate — Dig 6-8 inches deep within the marked area. Remove all rocks, roots, and organic debris.
- Apply weed killer — Spray a non-selective herbicide on the exposed soil. Wait 48 hours before proceeding.
- Lay landscape fabric — Cover the entire excavated area, extending 6 inches beyond the edges. Overlap seams by at least 4 inches.
- Add drainage base — Pour 2-3 inches of coarse sand or pea gravel. Compact firmly using a hand tamper or plate compactor.
- Build the frame — Construct the rectangular box using pressure-treated lumber (2x6 or 2x8). Secure corners with galvanized brackets.
- Level the frame — Use a carpenter's level on all four sides and both diagonals. Shim as needed.
- Fill with topsoil — Add quality topsoil, leaving 1-2 inches of space at the top for your turf surface.
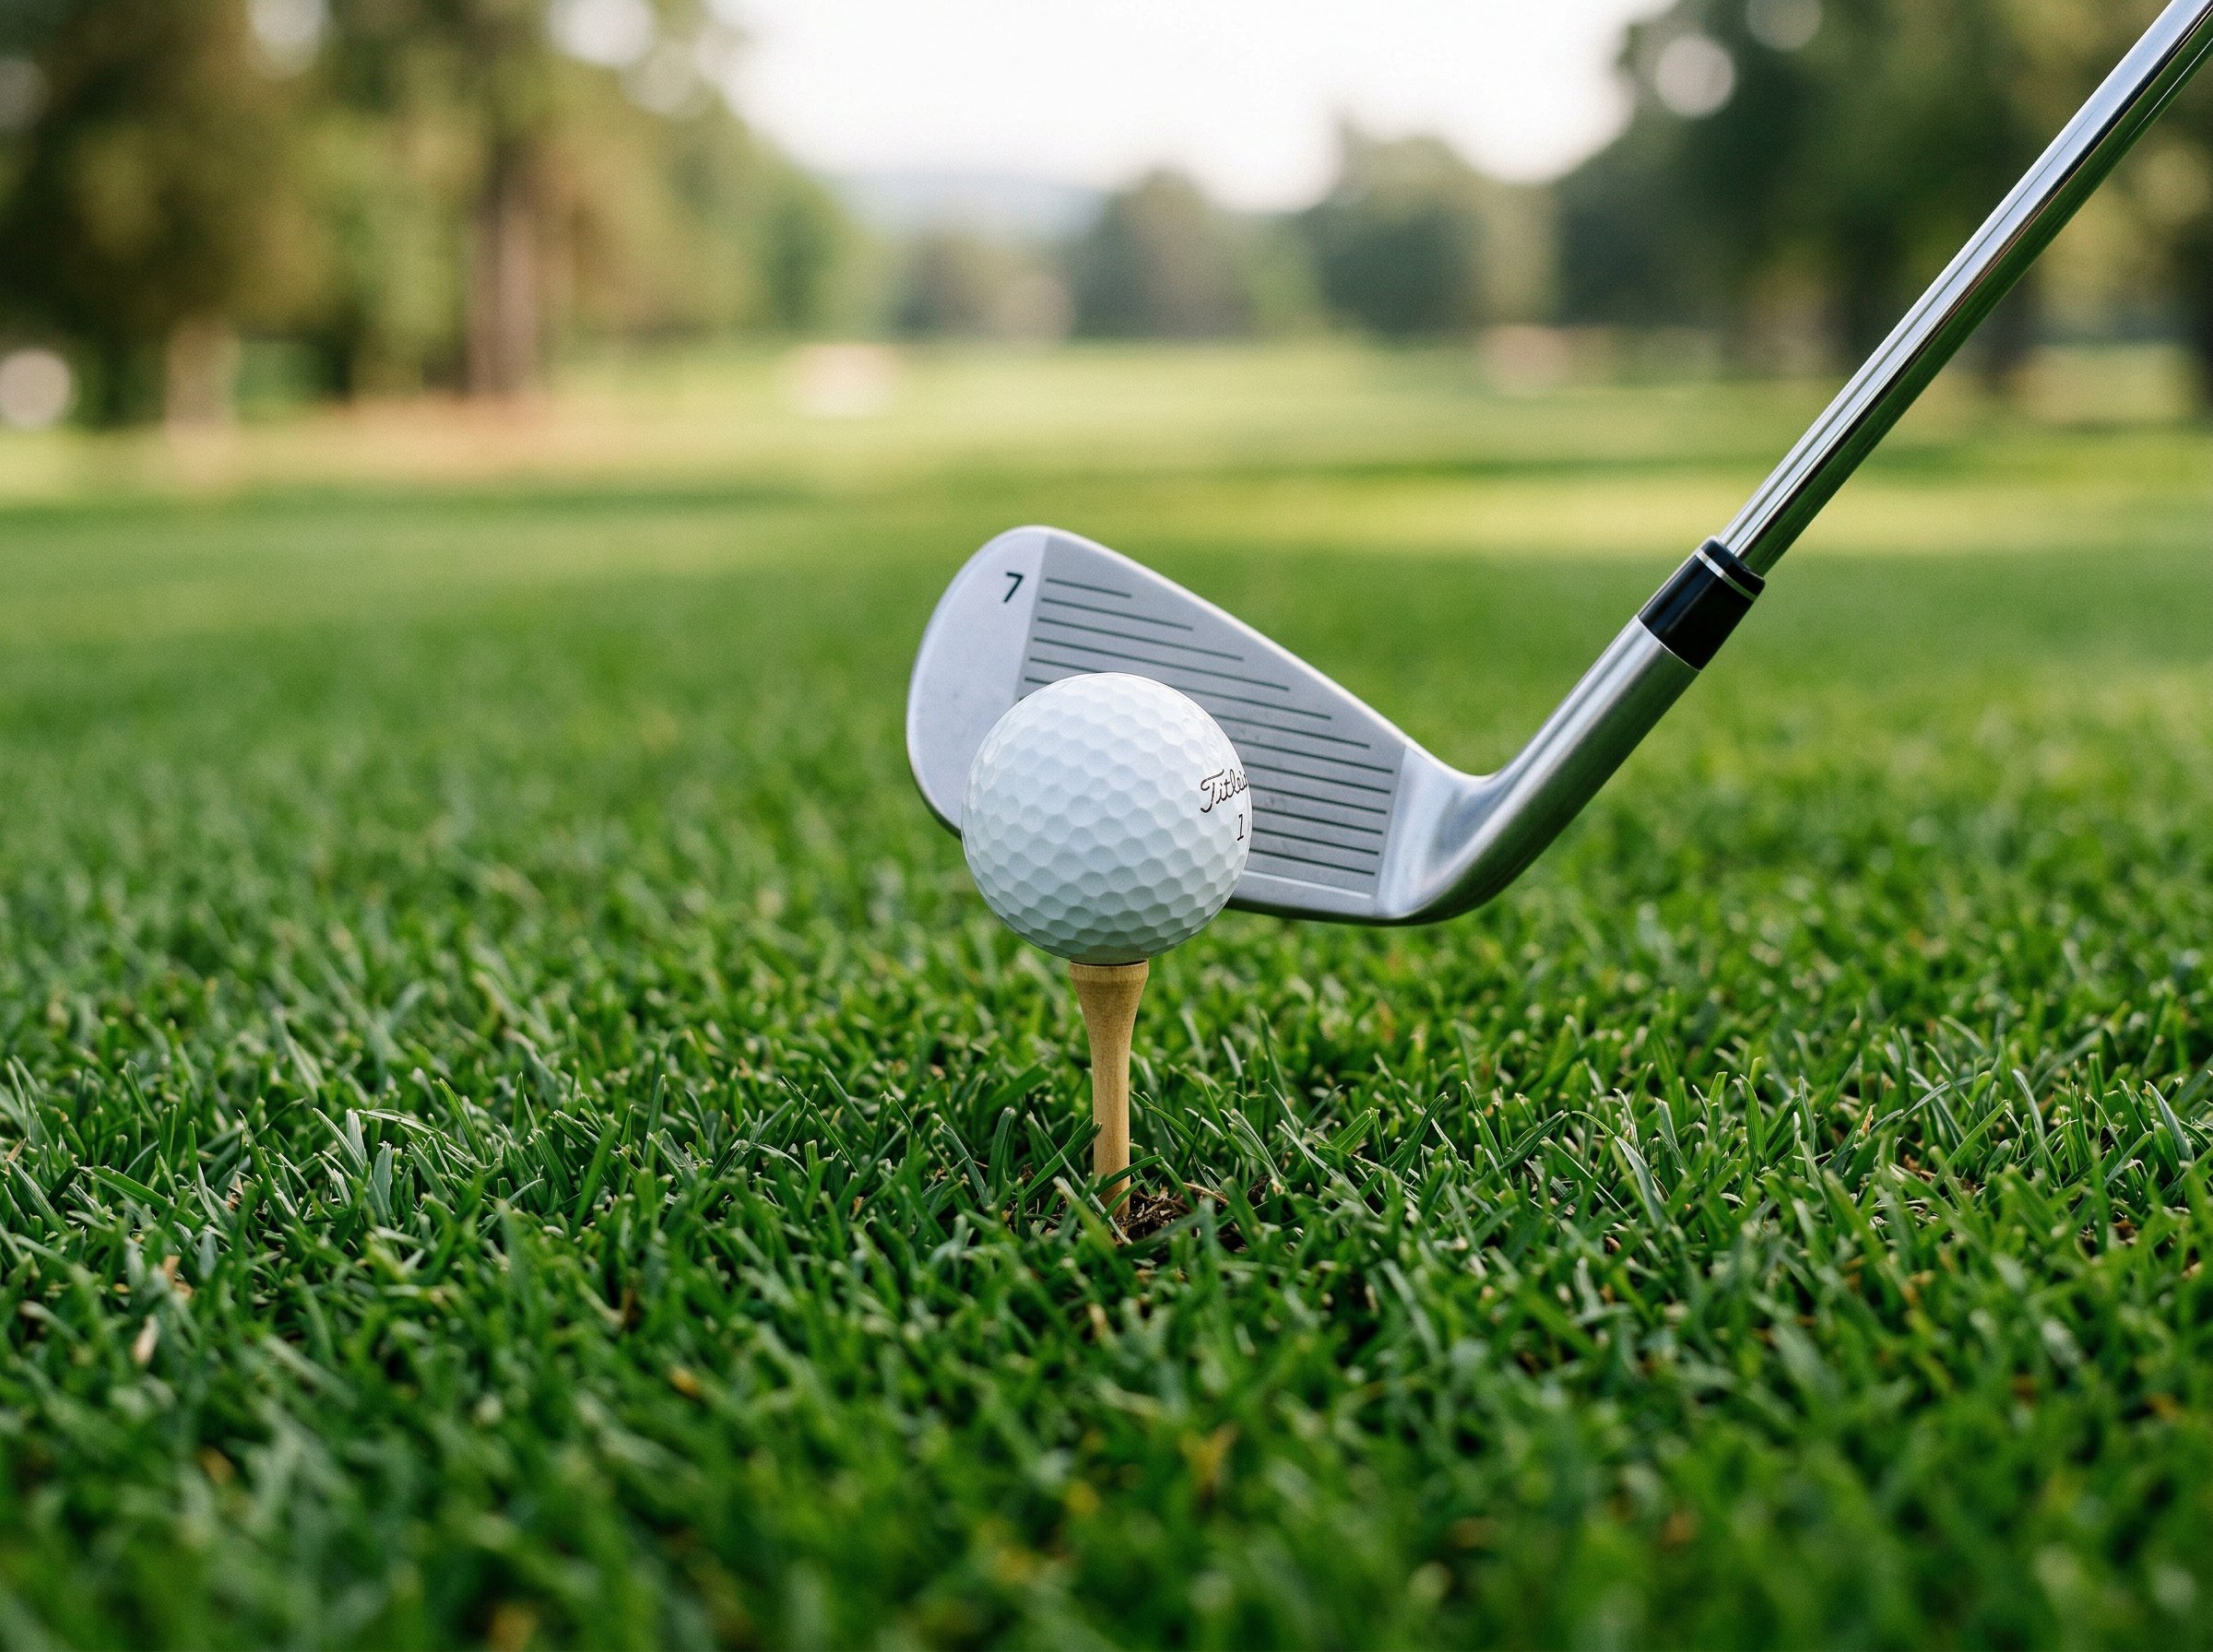
- Install turf — Lay artificial turf or sod on top, securing edges to the frame.
- Add tee holders — Install removable rubber tee holders at multiple positions.
Construct the frame using pressure-treated lumber, creating a rectangular box 2-4 inches high. This elevation provides proper ball positioning and drainage[4]. Secure corners with galvanized brackets and ensure the frame is perfectly level using a carpenter's level.
Install landscape fabric across the excavated area, then add your drainage layer of coarse sand or gravel. The frame sits on top of this base, creating a contained growing area. Fill the frame with quality topsoil, leaving space for your chosen turf option.
Which Turf Option Works Best for Home Tee Boxes?
Tee Box Surface Comparison
| Surface Type | Durability | Feel | Maintenance | Cost | Best For |
|---|---|---|---|---|---|
| Artificial golf turf | Excellent | Good | Very low | $30–80 | Heavy use, convenience |
| Bermuda grass (419) | Very good | Authentic | High | $15–30 (sod) | Warm climates, realism |
| Tall fescue | Good | Authentic | Moderate | $10–20 (seed) | Cool climates |
| Hybrid (artificial + natural fringe) | Very good | Good | Moderate | $40–70 | Best of both worlds |
Artificial turf designed for golf applications offers the most consistent performance and lowest maintenance[2]. High-quality golf turf provides realistic ball interaction and withstands repeated club contact. Installation involves securing the turf to your platform and adding infill material for stability. Cut the artificial mat into the topsoil so you can mow around it smoothly.
Natural grass requires more maintenance but offers authentic playing conditions. Our guide to the best grass for a DIY putting green covers turf varieties that also work well for tee boxes. Choose a durable variety like Bermuda grass (the 419 variety is specifically recommended for tee boxes due to its divot recovery) or tall fescue that tolerates foot traffic[3]. Seed or sod installation should occur during optimal growing seasons for your region.
Hybrid options combine artificial and natural elements. Some golfers install artificial turf with natural grass patches that can be replaced as needed. This approach balances durability with realistic playing conditions.
Pro tip: If you go with natural grass, use a rotational hitting system. Section off the tee box and rotate your hitting area weekly, allowing damaged spots to recover while you use a different section. This is the same technique driving ranges use to keep their tee areas playable.
How Do You Maintain Your Backyard Tee Box?
Regular maintenance keeps your tee box performing like a professional facility[5]. For artificial turf, weekly cleaning removes debris and maintains infill distribution. Use a stiff brush to restore fiber alignment and check for loose edges or damage.
Natural grass tee boxes need consistent watering, fertilization, and overseeding to handle heavy use. Rotate tee positions to distribute wear evenly across the surface. Spring and fall are ideal times for major maintenance like topdressing and overseeding[3].
Seasonal Maintenance Calendar
| Season | Artificial Turf Tasks | Natural Grass Tasks |
|---|---|---|
| Spring | Deep clean, check edges & seams | Fertilize, overseed bare spots, sharpen mower |
| Summer | Weekly brushing, infill check | Water deeply, mow frequently, rotate hitting zone |
| Fall | Remove leaves, inspect drainage | [Aerate](/articles/best-time-to-aerate-lawn), overseed, fertilize heavily |
| Winter | Cover if in freezing climate | Let dormant, avoid traffic on frozen turf |
Drainage inspection should occur seasonally, especially after heavy rains. Clear any blocked drainage areas and add sand or soil as needed to maintain proper surface levels. Address settling or uneven areas immediately to prevent larger problems[4].
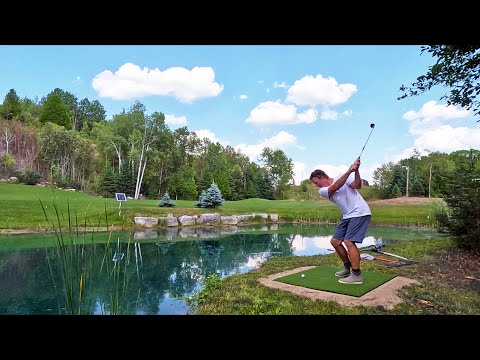
How Do You Position Your Tee Box for Maximum Use?
Strategic tee box placement dramatically increases your practice variety. Choose locations where you can hit toward multiple targets from the same position — this maximizes your course layout without building additional tee boxes.
Safety clearance: Position the tee box so all shot directions have at least 20 feet of clear space, with 10-15 feet of side clearance. Install golf netting along property lines or near structures for additional protection.
Multiple target areas: Aim to set up 2-3 different target zones at varying distances (30, 50, and 80 yards). This lets you practice wedges, short irons, and mid-irons from one tee box position.
Consider the wind: Orient your primary hitting direction to avoid prevailing winds carrying balls toward neighbors or roads. In most areas, hitting into the prevailing wind is safest since it shortens ball flight.
Complement other practice areas: Position your tee box where it works with your chipping green and any putting green you've built — and once you have a putting surface, work on eliminating three-putts with speed control drills. A connected practice circuit creates a more complete training experience.
Conclusion
Building a DIY backyard tee box creates a valuable practice facility that improves your golf game while adding property value. Focus on proper drainage, quality materials, and regular maintenance for long-term success. Start with basic construction, then add features like multiple tee positions or target areas as your skills and needs evolve. Your investment in a well-built tee box pays dividends in improved performance and convenient practice access. Once your practice area is complete, learn how to stripe your lawn like a golf course for that professional finishing touch, and check out our guide on how to make your lawn look like a golf course for the full transformation.
Sources
- Purdue Extension - Turfgrass management and sports facility construction guidelines
2. Penn State Extension - Artificial turf installation and maintenance for recreational facilities
3. University of Georgia Extension - Turfgrass selection and care for high-traffic areas
4. USGA Green Section - Golf course construction and drainage best practices
5. Golf Course Superintendents Association - Professional turf maintenance standards and techniques